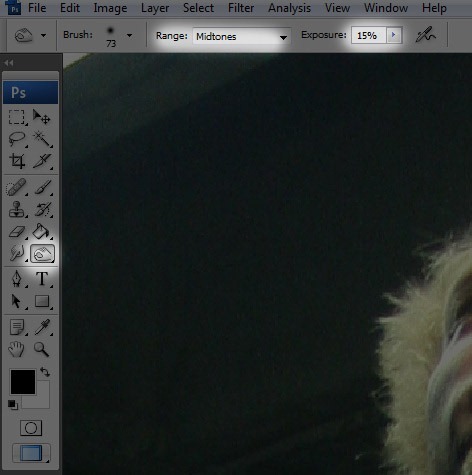
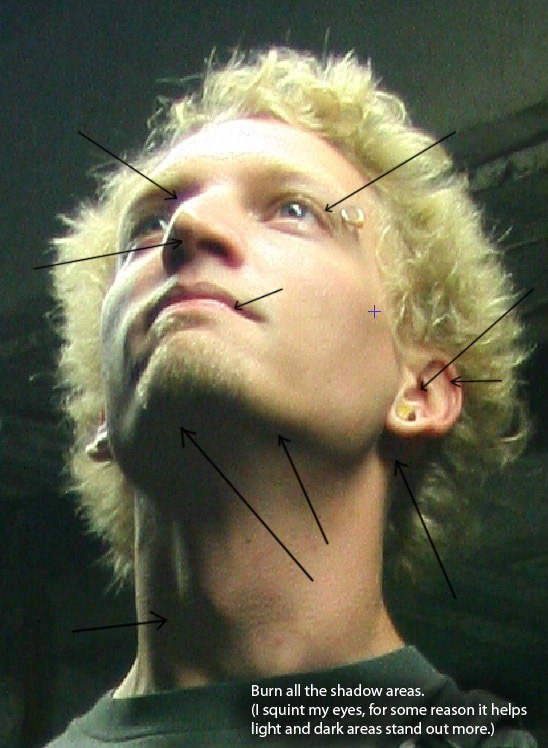
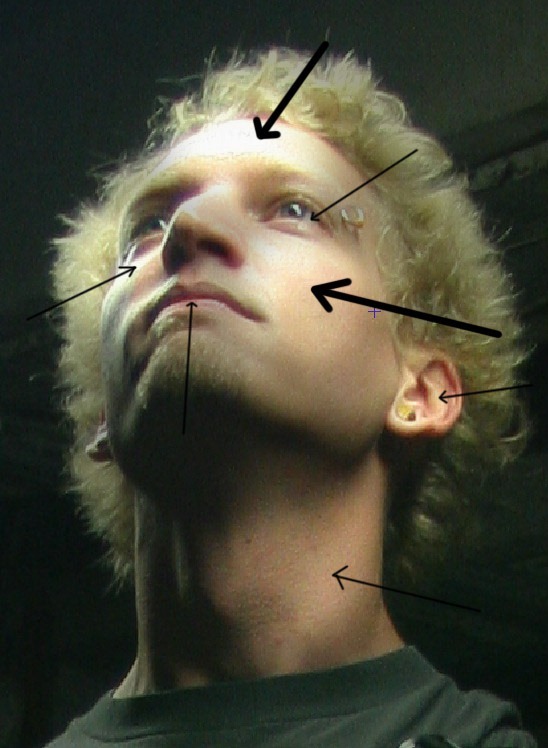
Step 2 – Accentuate the shadows
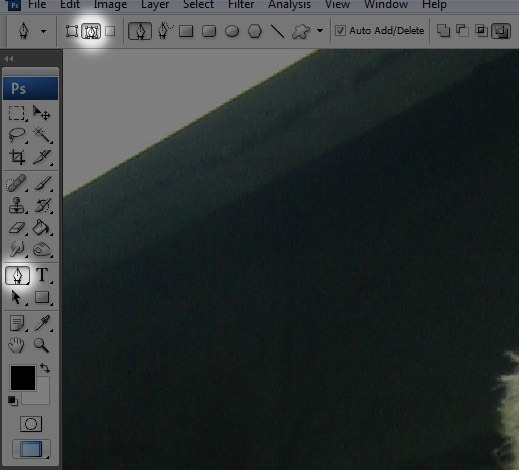
Step 4 – Create a path
Klik Di Sini Untuk Zoom Gambar
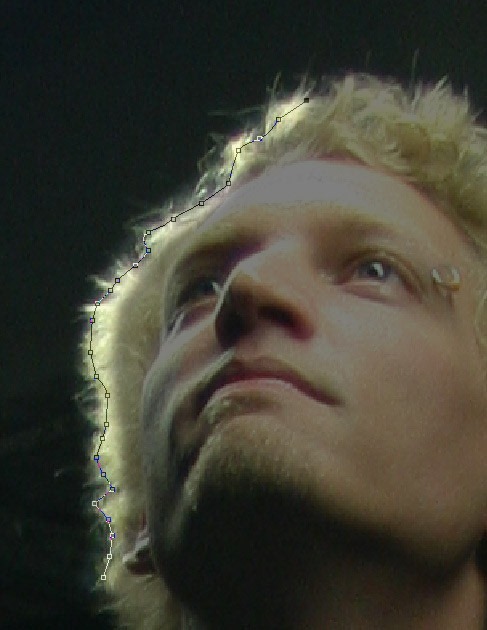
Zoom in to your subject so that you may create an outline with more detail.
Klik Di Sini Untuk Zoom Gambar
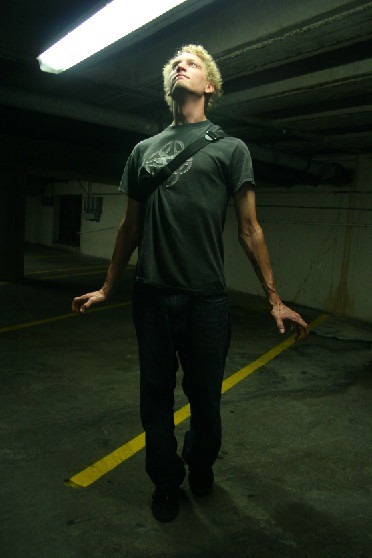
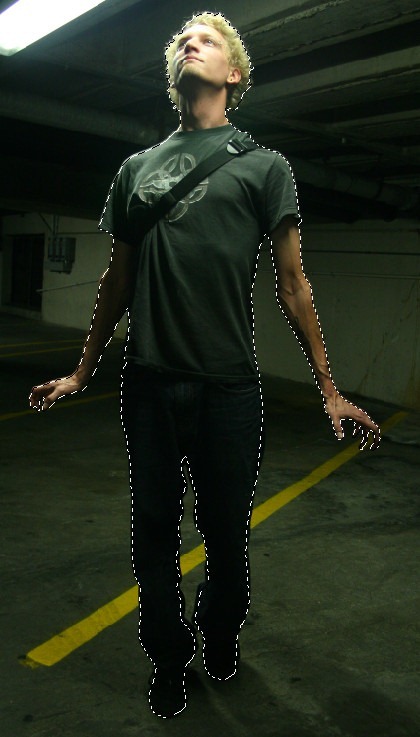
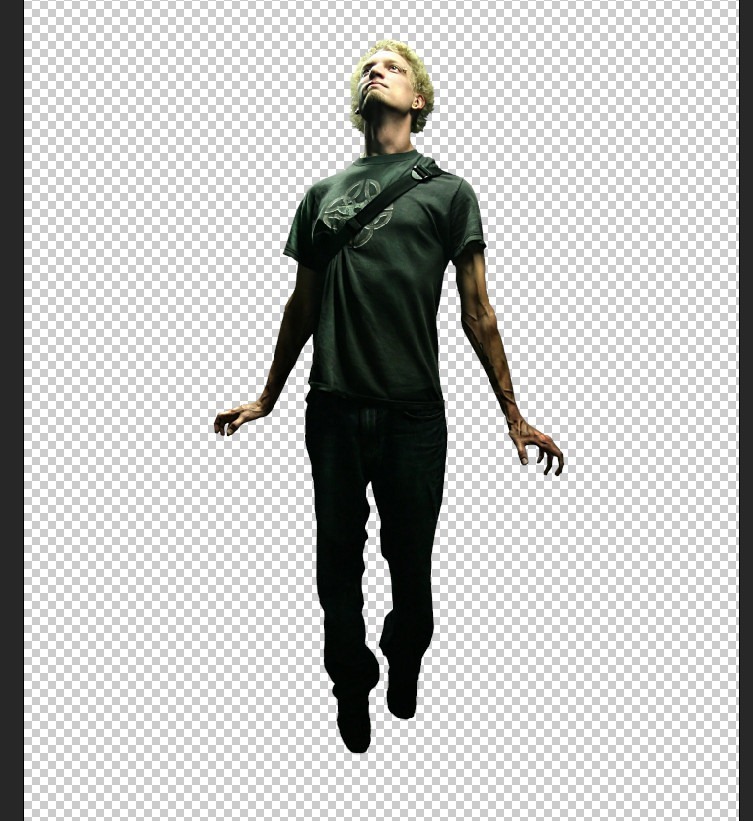
Once you have completed the path around your subject, select it (Right click + Select ‘Make Selection). Copy the image (Ctrl+C).
Step 5 – Create a new layer
Create a new layer and paste the image onto the new layer (Ctrl+V). Duplicate the image, just in case. Discard your original image.Step 6 – Open your background image
Klik Di Sini Untuk Zoom Gambar
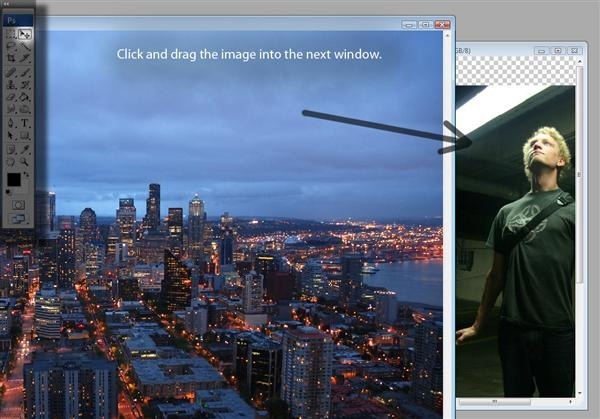
Load the image for your background. Select the image and drag it into the same window as your subject.Step 7 – Open your effects image
Klik Di Sini Untuk Zoom Gambar
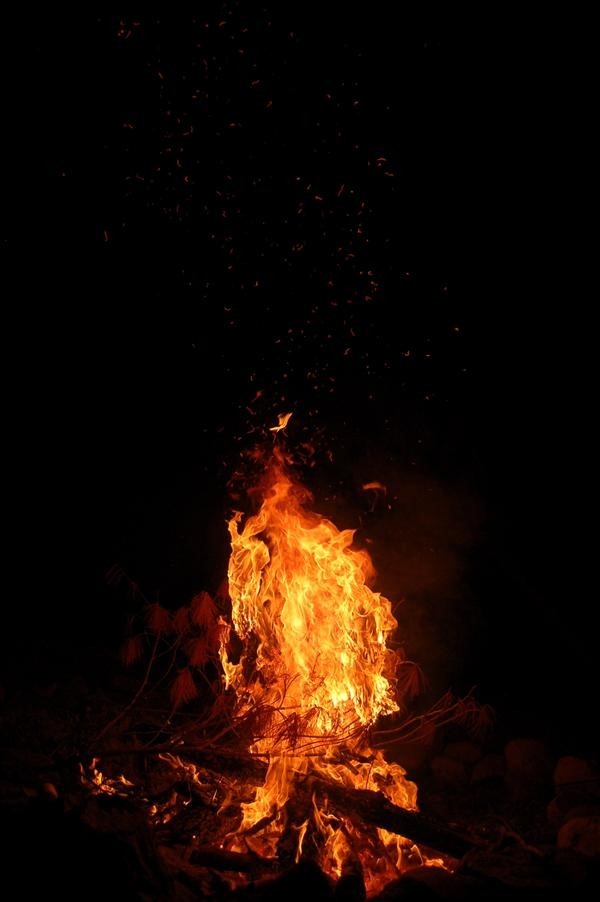
Load the image for the effects. In this tutorial, we will use flames. Drag the flames into the same window as your subject.Step 8 – Match the colours
Klik Di Sini Untuk Zoom Gambar
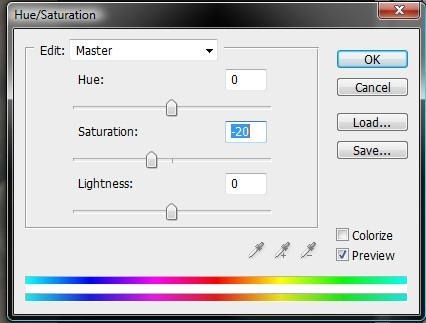
To match the colour of the background to your subject, adjust the Hue and Saturation (Image > Adjustments > Hue and Saturation) to the following settings.Hue: 0
Saturation: -20
Lightness: 0Step 9 – Warping the image
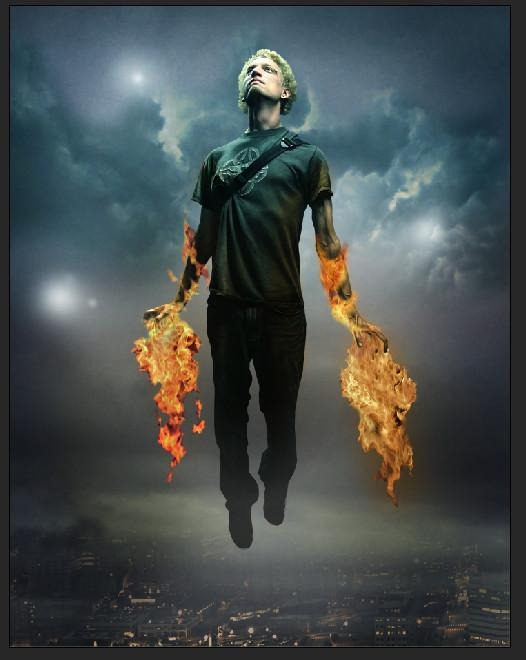
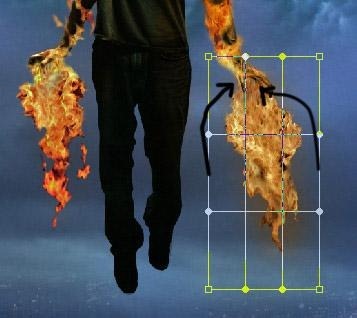
Warp (Edit > Free Transform > Warp) the shape so that the flames look like they are coming from the subject’s hands.Step 10 – Touch up the flames
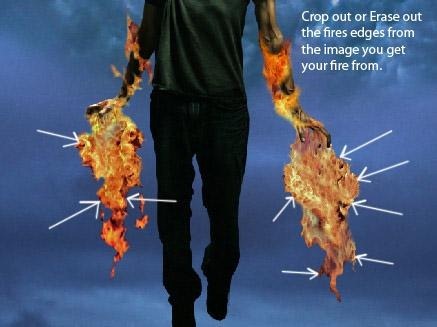
Select the layer with the flames and make sure it is placed above the layer with the subject.Use the Eraser Tool to erase the areas surrounding the flames. This way, only the flames will show and it also reveals the subject’s arms as you erase.
Step 11 – Add a Mask Layer
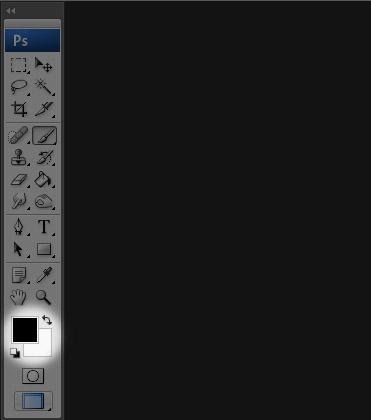
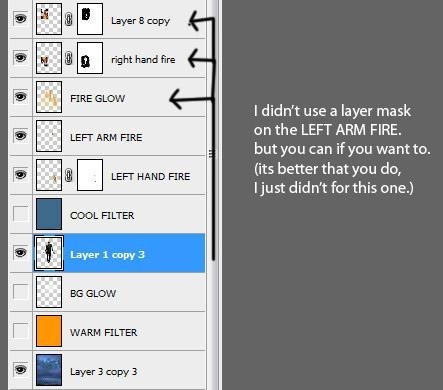
Click “Add Layer Mask” at the bottom of the Layers Palette. Select the brush tool and set the foreground colour to black.
Step 12 – Revealing the arms
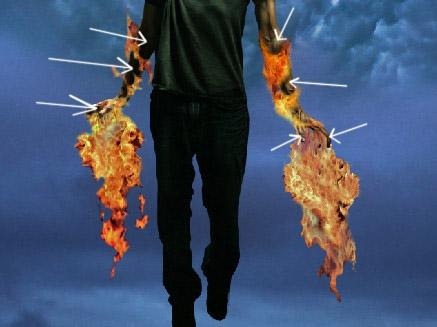
Again, making sure the flame layers are above the subject layer, select the flame masks.
Use the Eraser tool to erase some of the flames away to expose the arms. See the image below for an idea.
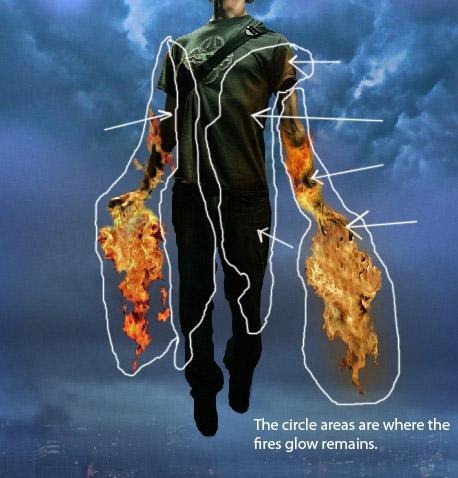
Step 13 – Adding light glow from the flamesCreate a new layer on top of your subject layer. Set the foreground colour to lemon yellow or any colour that matches the flames.
Make sure the new layer is selected and select the Brush Tool. Use the Brush Tool to paint around the fire and parts of the body where the glow from the fire will rest.
Erase where necessary and change your layer settings to the following.Mode: Color
Opacity: 55%
Step 14 – Adding warm glow from the flames
Create another new layer between the subject and the background and name it “Warm Filter.” Fill it with an orange colour.
Change your layer settings to the following.
Mode: Color
Opacity: 36%
Step 15 – Adding glow to the background
Create another new layer and name it “BG Glow.” Select the Brush Tool and use these settings.
Brush size: 1350
Opacity: 25%
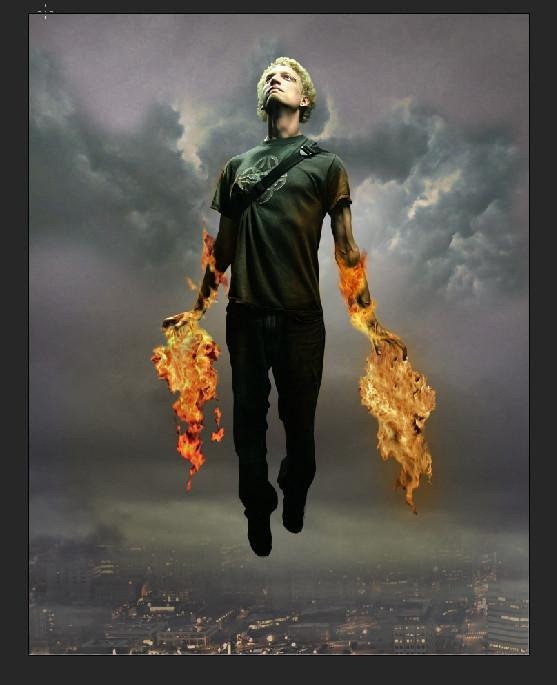
Make sure the layer named “BG Glow” is selected and paint on a misty glow in the area behind the subject.Klik Di Sini Untuk Zoom Gambar
Potoshop : fantastic 4 effect
Subscribe to:
Post Comments (Atom)






No comments:
Post a Comment